Break Out in Pictures
The game was played 6/4/08 at John's house. John supplied the Brits (apart from three Comets) I supplied the Germans. In the first game I was the Germans and John the Allies, the majority of pics are from the first game
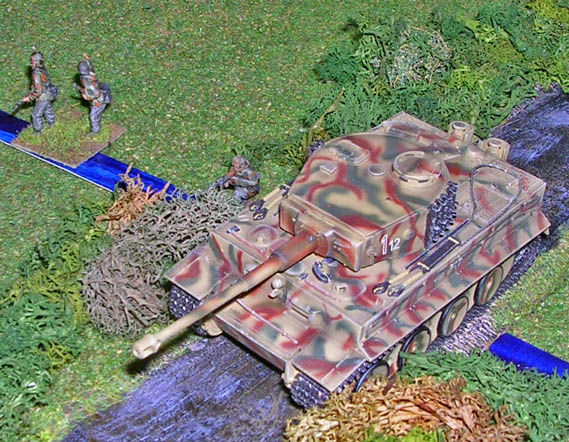
Tiger of KG Lotze blocks the road north. (Dragon Armour)
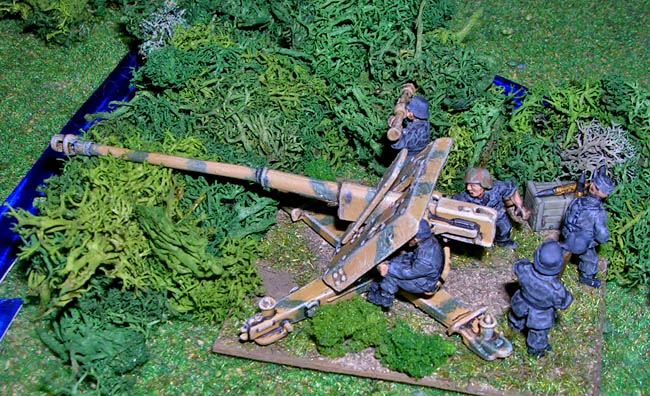
The Germans placed the PaK-43 (Skytrex) in the north west corner of the table where it dominated the open west side of the battlefield
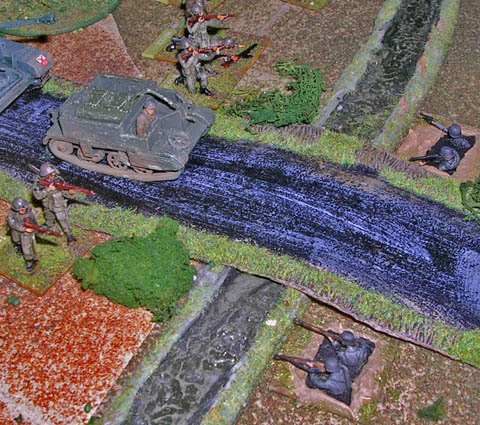
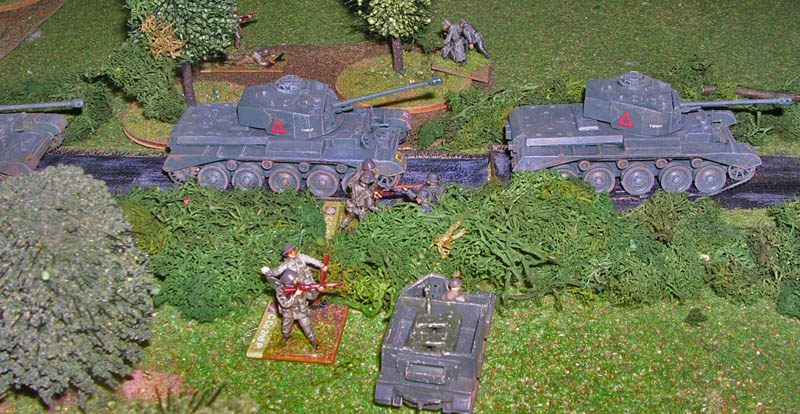
7 Kp 12SS Ausbildungs and Ersatz Battailon awaits the onslaught of the 4th KSLI with their Wasp Carrier (Airfix conversion)
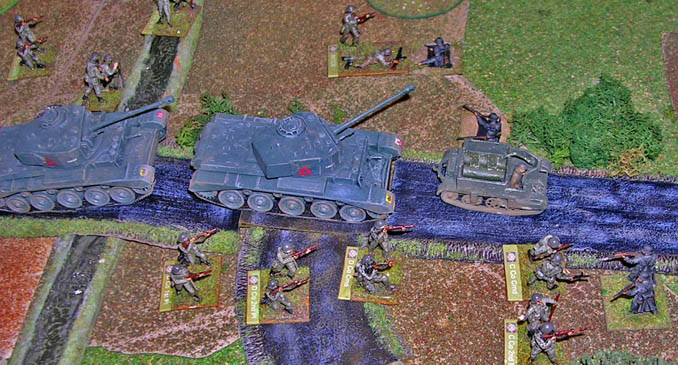
Having broken through the first SS line the 4th KSLI attacks the second. Despite a volley of Panzerfaust none of the British AFV's are hit. Matchbox Comets
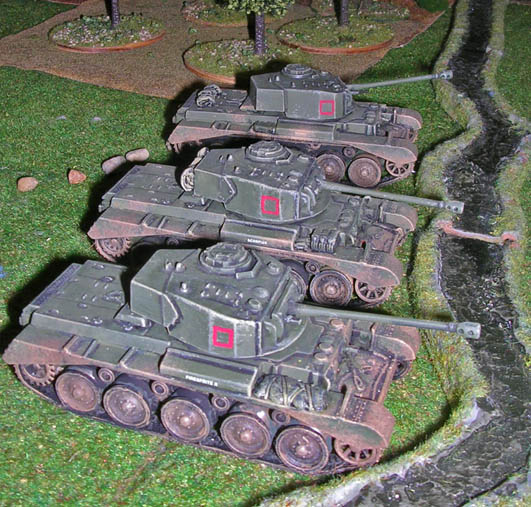
Comets of C Squadron 3rd RTR move up to the stream. (I know the markings are wrong for C Squadron)
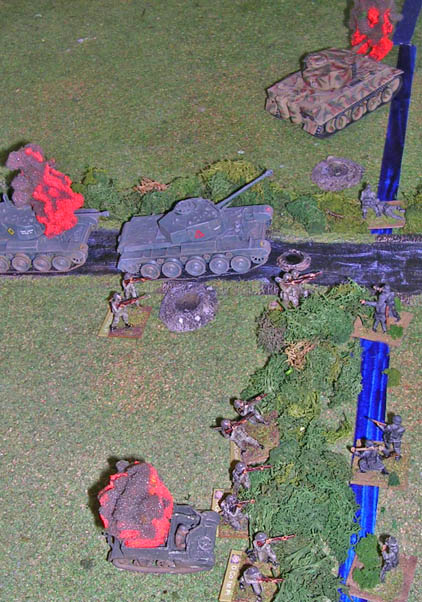
After destroying the 12SS, 3rd RTR advance up the road
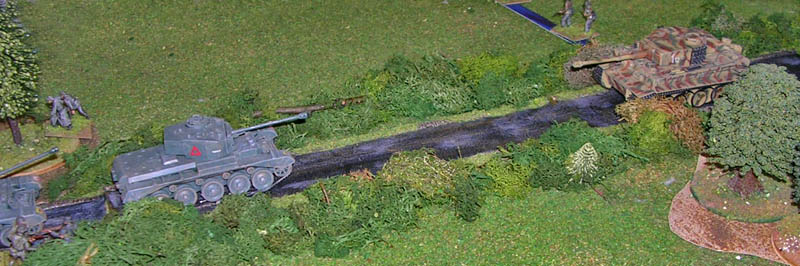
To be shot by the Tiger of Tigergruppe Fehrmann, which was to prove fatal to the lead Comet
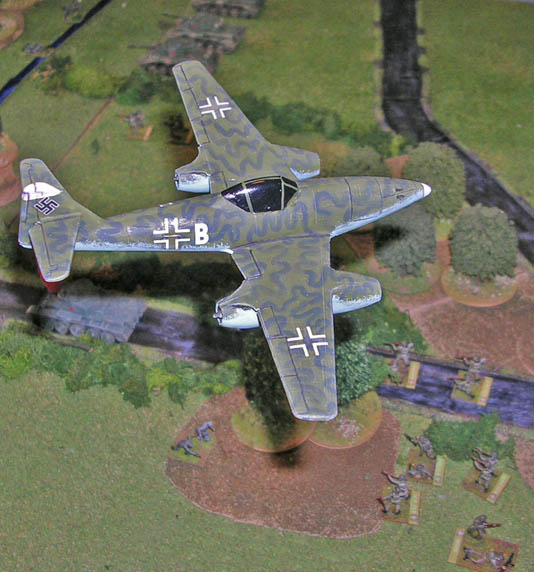
The Luftwaffe arrives! Me-262 (Airfix) bombs the clustered infantry of the 4th KSLI, rather ineffectually as it happens

C Squadron close against the Tiger, despite being suppressed by German mortars the Comets managed a lucky hit and forced the Tiger back. This made it show it's rear armour which was fatal as it was shot up the back-side by a A Squadron Comet on the road.
Turn 9, last British assault on the German MLR. The Comets of A squadron have pinned precluding a rush for the end of the table. Commander Lotze proved he's the only German who can use a Panzerfaust properly, getting the game's only hit and brewing the Wasp. He also shot down the British platoon close assault, definitely a hero. The rest of the assault was pretty ineffectual too.
In the first game John failed to get any stands off the table. There were several Germans close to the road including the 88mm, giving John a princely total of -13 points. I was pretty confident when I started my turn as the attackers, but I couldn't nail the Tiger despite a couple of flanking attempts. Either the Comet's morale failed or the Tiger luckily got forced back out of LOS of one flanking squadrons. One stand of 12SS made a heroic stand delaying the British infantry for several turns. I did even worse than John. He had the same number of Germans left as I did but as I failed to kill the Tiger: I lost: -27 points. It was a good game with plenty of manoeuvre, with only one or two different dice rolls the outcome could have been different.

The only pic of the 2nd game, A squadron Comets advance whilst 4th KSLI try to kill off the last of 12SS