Kunlun Pass
18/12/39 -19/12/39
v1.2 15/1/12 - victory conditions changed, OB tweak
The Imperial Japanese Army launched a major offensive into Guangxi province.
With the objective to cut off the Chinese supply route from French-controlled
Vietnam, the elite Japanese 5th Division spearheaded the Japanese offensive.
After occupying Nanning in November 1939, the Japanese captured the key point of
Kunlun pass and threatened the Chinese rear base that protected Chungking, the
wartime capital.
Realizing the danger of being isolated from the outside world and impossible to
receive more aid if the Japanese troops were not repulsed, General Bai Chongxihimself
a native of Guangxiasked the Nationalist Government for reinforcements. Chiang
Kai-shek in turn dispatched the 5th Corps from Hunan province to fight the
Japanese.
The 5th Corps was the most elite unit in the NRA, and it is also the only
Chinese unit that had tanks and armoured vehicles. Its soldiers were
combat-hardened veterans from previous battles against the Japanese troops, and
its soldiers' morale was high as a result. General Du Yuming, commander of the
5th Corps, dispatched two divisions to attack the Japanese-held Kunlun Pass.
(From: http://en.wikipedia.org/wiki/Battle_of_Kunlun_Pass)
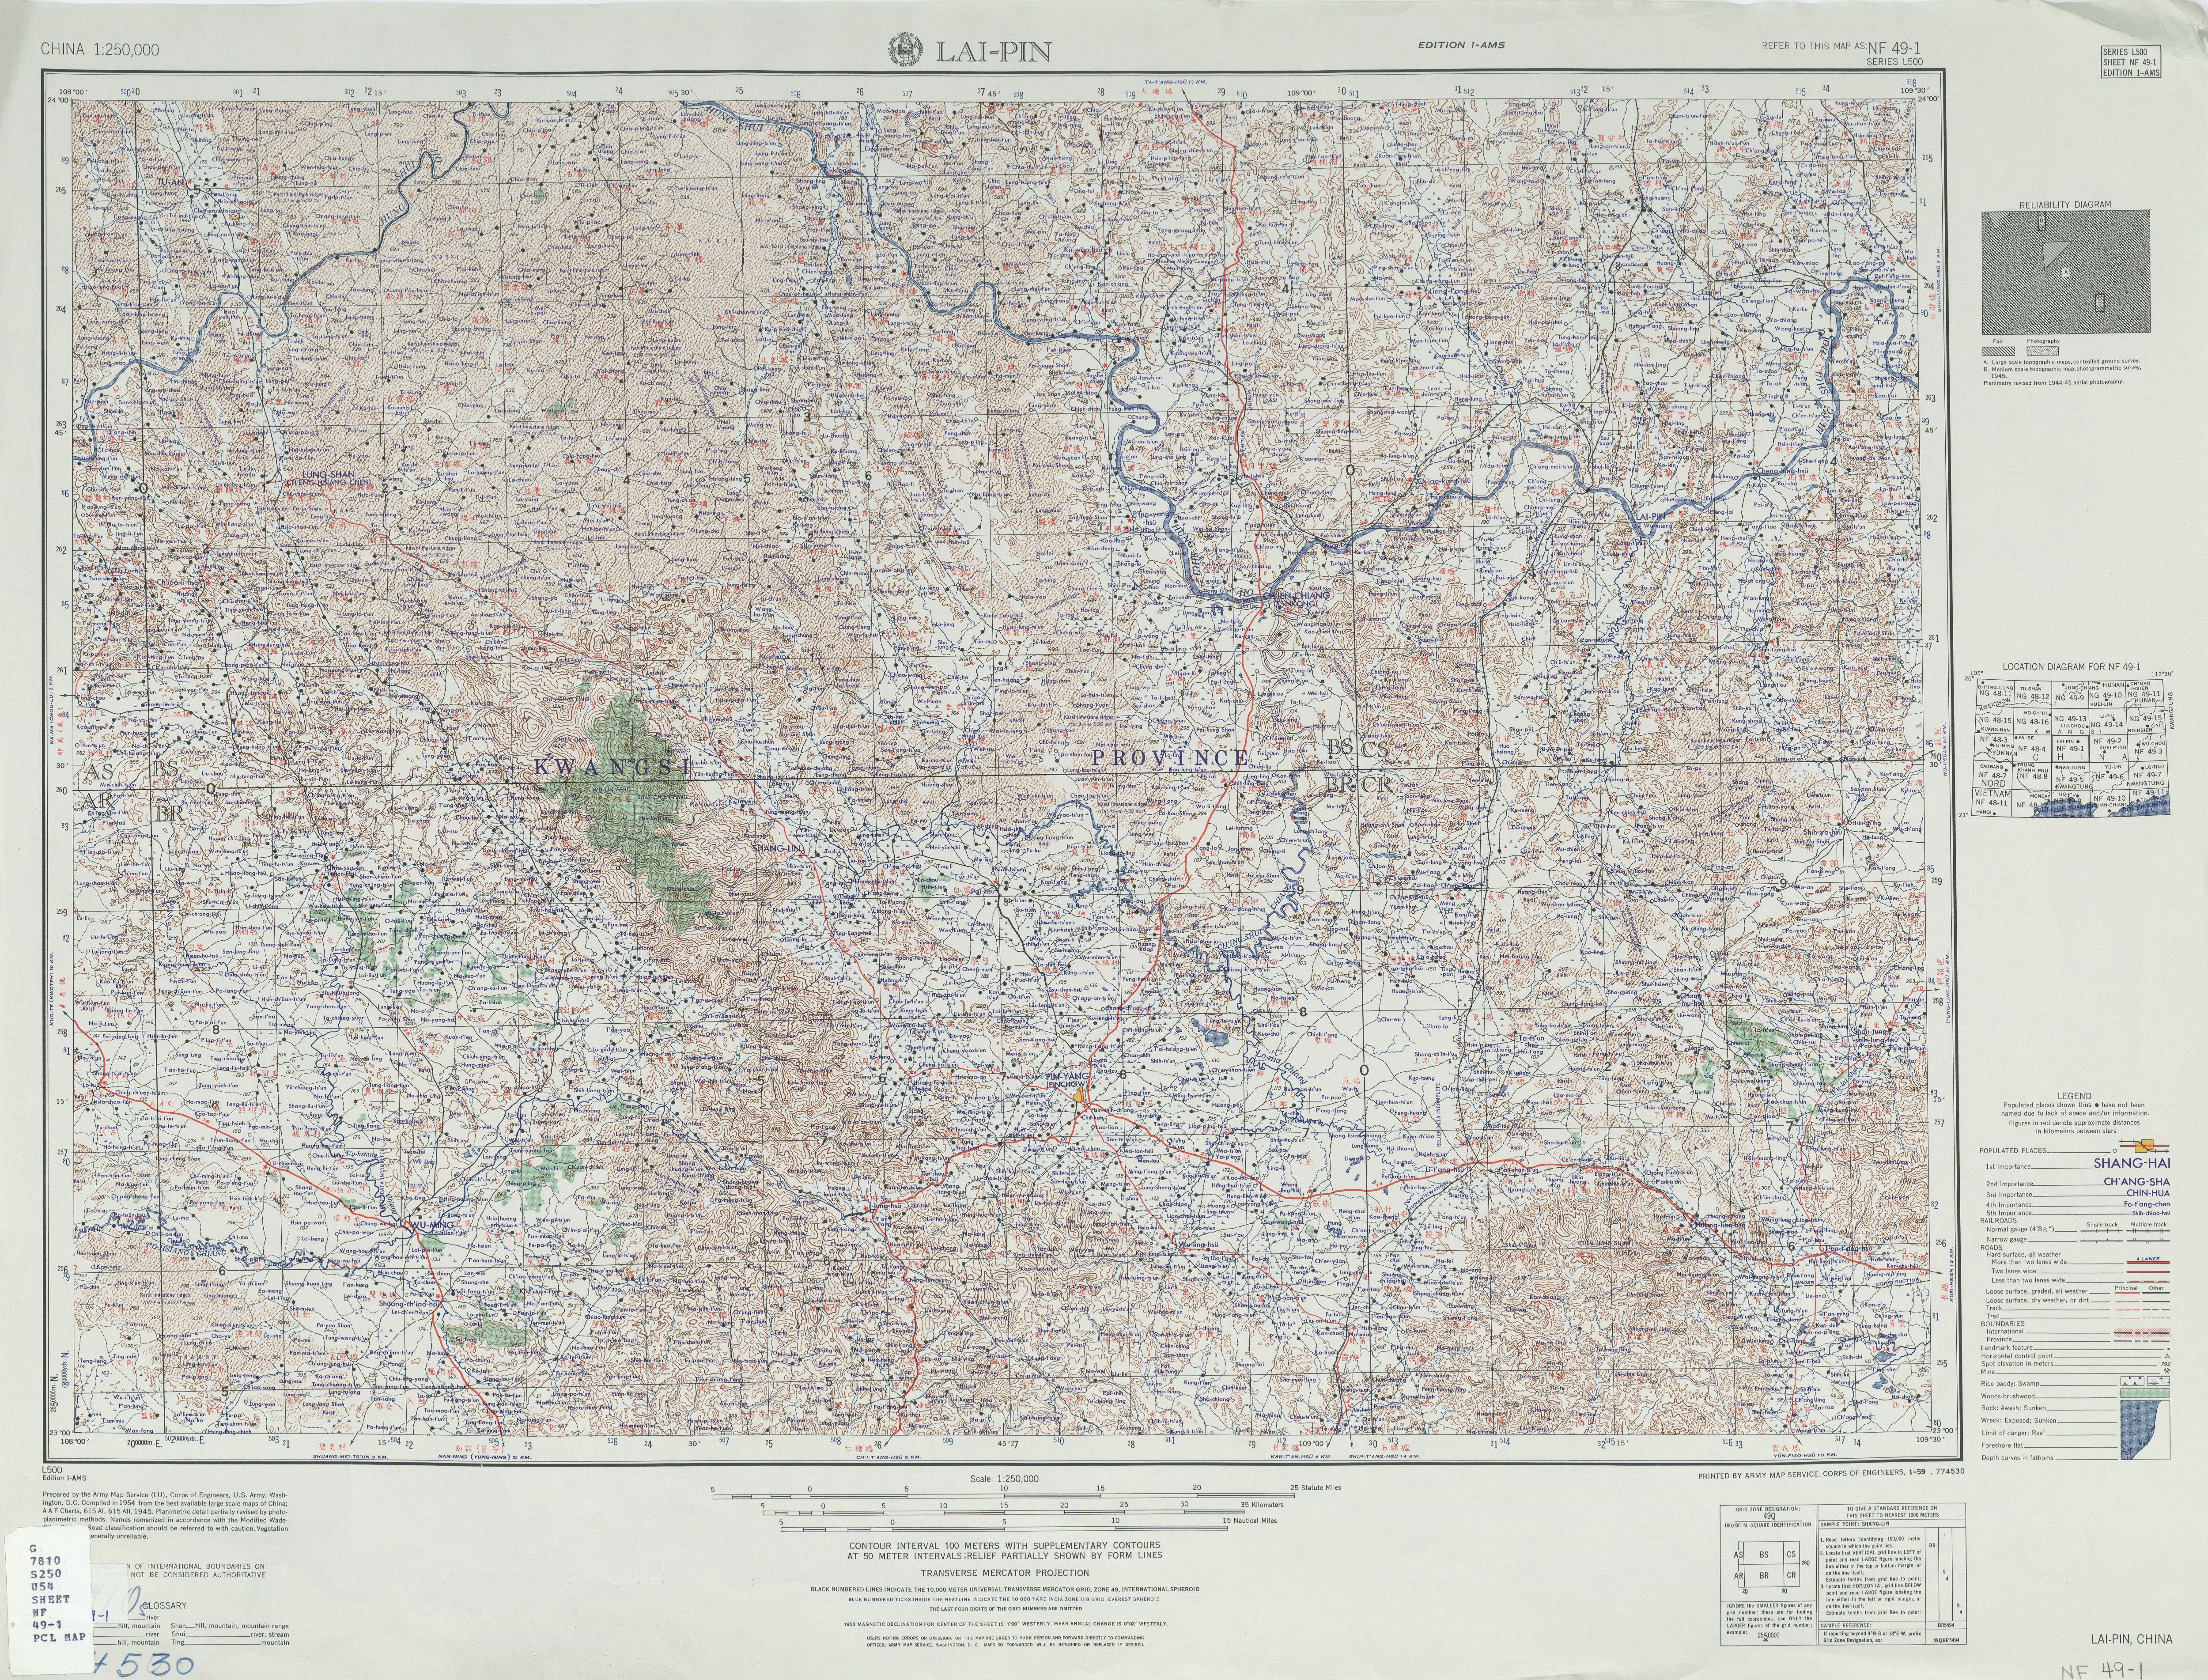
50's US Army 1:250K map of the battle area. (The pass is the kink around the black dot on the major north south road) - From: http://www.lib.utexas.edu/maps/ams/china/txu-oclc-10552568-nf49-1.jpg
Map and Order of Battle
Chinese Deployment
All Chinese forces are deployed in the zone delineated by the pink dashed lines
Japanese Deployment
The 2nd Battalion 42nd Infantry Regiment starts on table and is deployed in the area delineated by the pink dashed lines. All Japanese stands are entrenched (-3 cover). There is 20" of barbed wire available to the Japanese side, placed in this deployment zone. One Japanese company (with an MG) must be deployed within 12" of ridge TU
The 1st Battalion 42nd Infantry Regiment is a reinforcement and enters the table between points A & C turn 1 of day 2 (see below)
The RHQ 42nd Infantry Regiment is a reinforcement and enters the table down road B turn 2 of day 2 (see below)
Terrain
The map shows a table of 5ft x 6ft if playing 1"=50m. North is to the top of the map
The terrain in the area consists of valleys containing open farmland surrounded by steep wooded hills, the tops of which are open, bare & rocky
The open areas should be broken up with small clumps of scrub and trees. These break LOS and give -1 cover. They should be big enough to give cover to 1 or 2 stands and there should be roughly 6" between them. They will tend to be on the steam and road margins.
The grey squares are small BUA's. They represent hamlets of wooden buildings (-2 cover). They may hold one stand
Red lines are roads. Where the roads pass through woods the max visibility down them is 6".
The blue lines are streams. There are no impediment to most stands but wheeled vehicles and man-handled guns take a BMA to cross. Personnel in the stream (but not towed guns) get +2 cover
Green areas are scrubby woods on steep hillsides. They give -1 cover. Max visibility within is 4". They are open blocking terrain so not "hard edged". Aircraft can see into and attack targets in these woods. Personnel within move at half speed. Vehicles and towed guns may not enter except for Japanese 70mm and Type 41 75mm which may be broken into loads and mule packed. In such cases it takes turn to set up or take down the guns.
The sandy areas are the bare, open, rocky hilltops. Movement is the same as if in the woods
The brown dashed lines are ridgelines - they come in three flavours:
Air Support
The Japanese were very active in the air with both the IJAAF and IJNAF flying sorties. Each daylight turn roll a d10 each for fighters and light attack planes. On either dice on a 7+ a plane is available. Fighters will be Ki-27 or A5M. Light Attack planes will be Ki-15, Ki-30 or D1A2
The Chinese dedicated over 100 aircraft to the offensive, including Russian volunteers from the Suprun group. Roll a d10 every daylight turn. On a 9-10 the Chinese get a fighter, one of: I-15bis, I-16, Hawk 75 or possible a Gladiator. The I-16's are Soviet flown
Special Rules
The game is split into two days. Day 1 has 4 daylight turns, 1 twilight turn and 2-3 night turns
The visibility in twilight is 12". The visibility at night is 2". At the end of turn 7 roll d10. On a 5+ there is an extra night turn. The following night rules are in effect (pg 93): 39.1.2 (2nd paragraph only); 39.1.4 and 39.1.7
Day 2 starts at dawn there are 7-8 turns. At the end of turn 7 roll d10. On a 5+ there is an extra turn
Chinese "Dare to Die" squads are only armed with pistols and grenades. They act as standard infantry but may only fire if in close assault
The Japanese 90mm mortars have "tear gas" bombs. Each mortar can cover a 3x3 area with gas (max ROF 1). Stands within the gas cloud are -1 troop quality and -1 morale for the rest of the turn. (starting immediately AFTER the firing phase) They are also suppressed. The gas is a limited round (i.e. one shot per mortar)
Victory Conditions
Victory locations are ridgelines UT, VW and XY plus point Z (the centre of the road where the road crosses the ridge).
If at the end of the game the Japanese do not have a stand in good morale in all locations they lose (touching the ridge lines or within 6" of point Z)
Otherwise after the end of the game count up the number of stands in good morale touching the ridgelines or within 6" of point Z for each side. Chinese stands touching ridge TU count double. The side with the highest number wins.
Good morale means not shaken and not demoralised
References
Pretty much everything needed came from this thread on the Axis History Forum: http://forum.axishistory.com/viewtopic.php?t=124083&start=95 Info on the air campaign from: http://surfcity.kund.dalnet.se/sino-japanese-1939.htm Google earth was used to fill in details of the foliage.