Attack of the Terror Tanks! Odessa
2/10/41
Since August the Romanian army had been trying to take Odessa from the Soviets. Although the defensive perimeter had contracted the Soviets were still defending strongly at the end of September.
What ultimately unhinged the defences was not the Romanians but the Germans reaching the Crimea and threatening the bases the Russians were using to supply the garrison at Odessa.
With their lines of supply threatened the Soviets needed to evacuate the city. However they did not want the evacuation to become obvious to the enemy, so one last offensive was planned. The attack was designed to convince the Romanian besiegers that the Soviets intended to stay and fight, while in reality some Soviet troops had already sailed away from Odessa
While the main attack was orchestrated by the HQ of the 25th Infantry Division the main attack force was 384th Rifle Regiment of the newly arrived (and soon to depart) 157th Rifle Division. They were supported by a battalion mostly composed of NI "Odessa" tanks, improvised machines on STZ artillery tractor chassis. NI is an acronym sometimes translated as "causing terror" hence the title of the scenario
The attack initially went very well for the Soviets. The Romanian Frontier Division had no AT guns and fled before the invincible armour. However the supporting infantry were attacked by the Romanian Airforce which separated them from the tanks, leaving the NI's lonely and vulnerable in the van of the offensive. The tanks were about to run into the Romanian artillery.
The scenario starts mid way through the attack. The Soviets are about to run in to the Romanian guns, while officers from the Frontier division desperately try to rally the broken Frontier Guards. On the flanks of the breakthrough the Romanian infantry is stirring its self for a counter attack.
Map and Order of Battle
Soviet Deployment
Soviet units are deployed in the zone delineated by the pink dashed lines. The DHQ can be in any deployment zone except that of the tanks
Romanian Deployment
The I Batalion , Regiment 10 Infanterie and the Divizion Tunuri, Regimentul 1 Artilerie Grăniceri are deployed in the zones indicated. All stands are entrenched (-3 cover)
The remnants of the Batalion 8 & 36 Mitraliere and I Batalion Grăniceri are deployed randomly. Their deployment zone is divided into squares numbered 1-6. There deployment area is 2ft x 3ft and is 12" from the west edge of the table. Roll d6 for each company and that is the square the company is placed in. The company should be placed roughly within the centre of the square and certainly not within 6" of a company in an adjacent square. All elements of these battalions start either shaken or demoralised - roll d6 when they are placed: 1-4 shaken, 5-6 demoralised. The Stat-Major Divizia 1 Grăniceri is placed anywhere within the deployment area
III Batalion Regiment 10 Infanterie and the Companie Cercetare are reinforcements. Start rolling for their arrival during the orders phase of turn 3 (so they will arrive in the movement phase of turn 4). Roll d6 they arrive on a 6. Next turn that arrive on a 4-6 and they will automatically arrive turn 6 if they have not done so already. The Comandament Regiment 10 Infanterie arrives one turn later than the infantry
III Batalion Grăniceri is a reinforcement. Start rolling for their arrival during the orders phase of turn 4 (so they will arrive in the movement phase of turn 5). Roll d6 they arrive on a 6. Next turn that arrive on a 4-6 and they will automatically arrive turn 7 if they have not done so already. The Comandament for the Regimentul 5 Grăniceri arrives one turn later than the infantry
Terrain
The open ground is very open. fields with no cover at their boundaries
Red lines are roads. They have intermittent hedges and tree lines along them about 75% coverage. The tree lines break LOS and give -1 cover. Any stand on the road is assumed to be adjacent to the tree line
Brown dotted lines are ridgelines. They break LOS and give AFV's the benefit of hull down (-2)
The green dotted lines are tree lines. The tree lines break LOS and give -1 cover
The large grey squares are 4x4 wooden BUA's, the smaller 2x2 BUA's (-2 cover). The smaller BUA's are farms and can hold 1 stand only. The simple town fighting rules are in effect
The green areas are open woods (-1 cover): no impediment for foot soldiers, half speed for vehicles and manhandled guns
Air Support
Both sides put maximum effort in to supporting their ground troops, though as the game starts half way through the attack the Soviet effort is dropping off and the Romanian effort ramping up. Historically the Romanians had 24 air sorties in support of their troops (6 attacks), though at least one of these would have been earlier in the day
Each turn the Soviets roll 1d10, on a 9-10 they get air support. If a 9 is rolled they get a single I-16 fighter. If a 10 is rolled they get the I-16 fighter and a 50% chance of either an MBR-2 Flying Boat light attack or an Il-2 Attack plane
Each turn the Romanians roll 1d6 on a 5-6 they get air support. If they roll a 5 they get fighter (IAR-80, Me-109E or Hurricane), on a 6 they get a fighter and PZL-23 Bomber
If playing with my variant air rules the Soviets place their planes before the Romanians
Special Rules
The game starts at midday and lasts 10 turns to 5pm
Romanian forces are not allowed to cross ridge BD (the main soviet bunker line is over the ridge)
If Soviet forces cross the ridge FE or GH they can be seen from the positions of the 51st Artillery Battalion which may automatically call IDF. In return any Soviet spotter may call IDF on the off table guns but this will be called normally. Assume the guns are 20" off table measured from the nearest point to the spotter.
Victory Conditions
Only personnel stands count for victory conditions. Road CX, Perselenet and Lenintal are the victory locations
Victory is ascertained after the end of the last turn, previous occupancy does not count
Measure (in inches) the furthest point that a Soviet personnel stand in good morale has advanced up road CX from point C. The stand must be touching the road to count. Only measure the stand which has no Romanian stands behind it (ie there should be no Romanian stands in good morale touching the road closer to C than the stand being measured). The number of inches translates in to VP's
For each 4x4 BUA in either Perselenet or Lenintal that is exclusively occupied by a Soviet personnel stand add 6VP (inches). The stand must be in good morale and wholly within the BUA. To counter occupancy the Romanians must have a stand wholly within in good morale
At the end of the game the "break even" point is 48VP's (inches), better than that is a Soviet victory. Less is a Romanian victory.
Good morale is not shaken and not demoralised
Historical Outcome
The Terror tanks forges forward to confront the Romanian artillery but their fire was too much and the tanks pulled back. The Soviet infantry was entangled with the counter-attacking Romanian infantry and never got up to support the tanks. As the tanks were left without infantry support they were obliged to pull back as darkness fell.
References
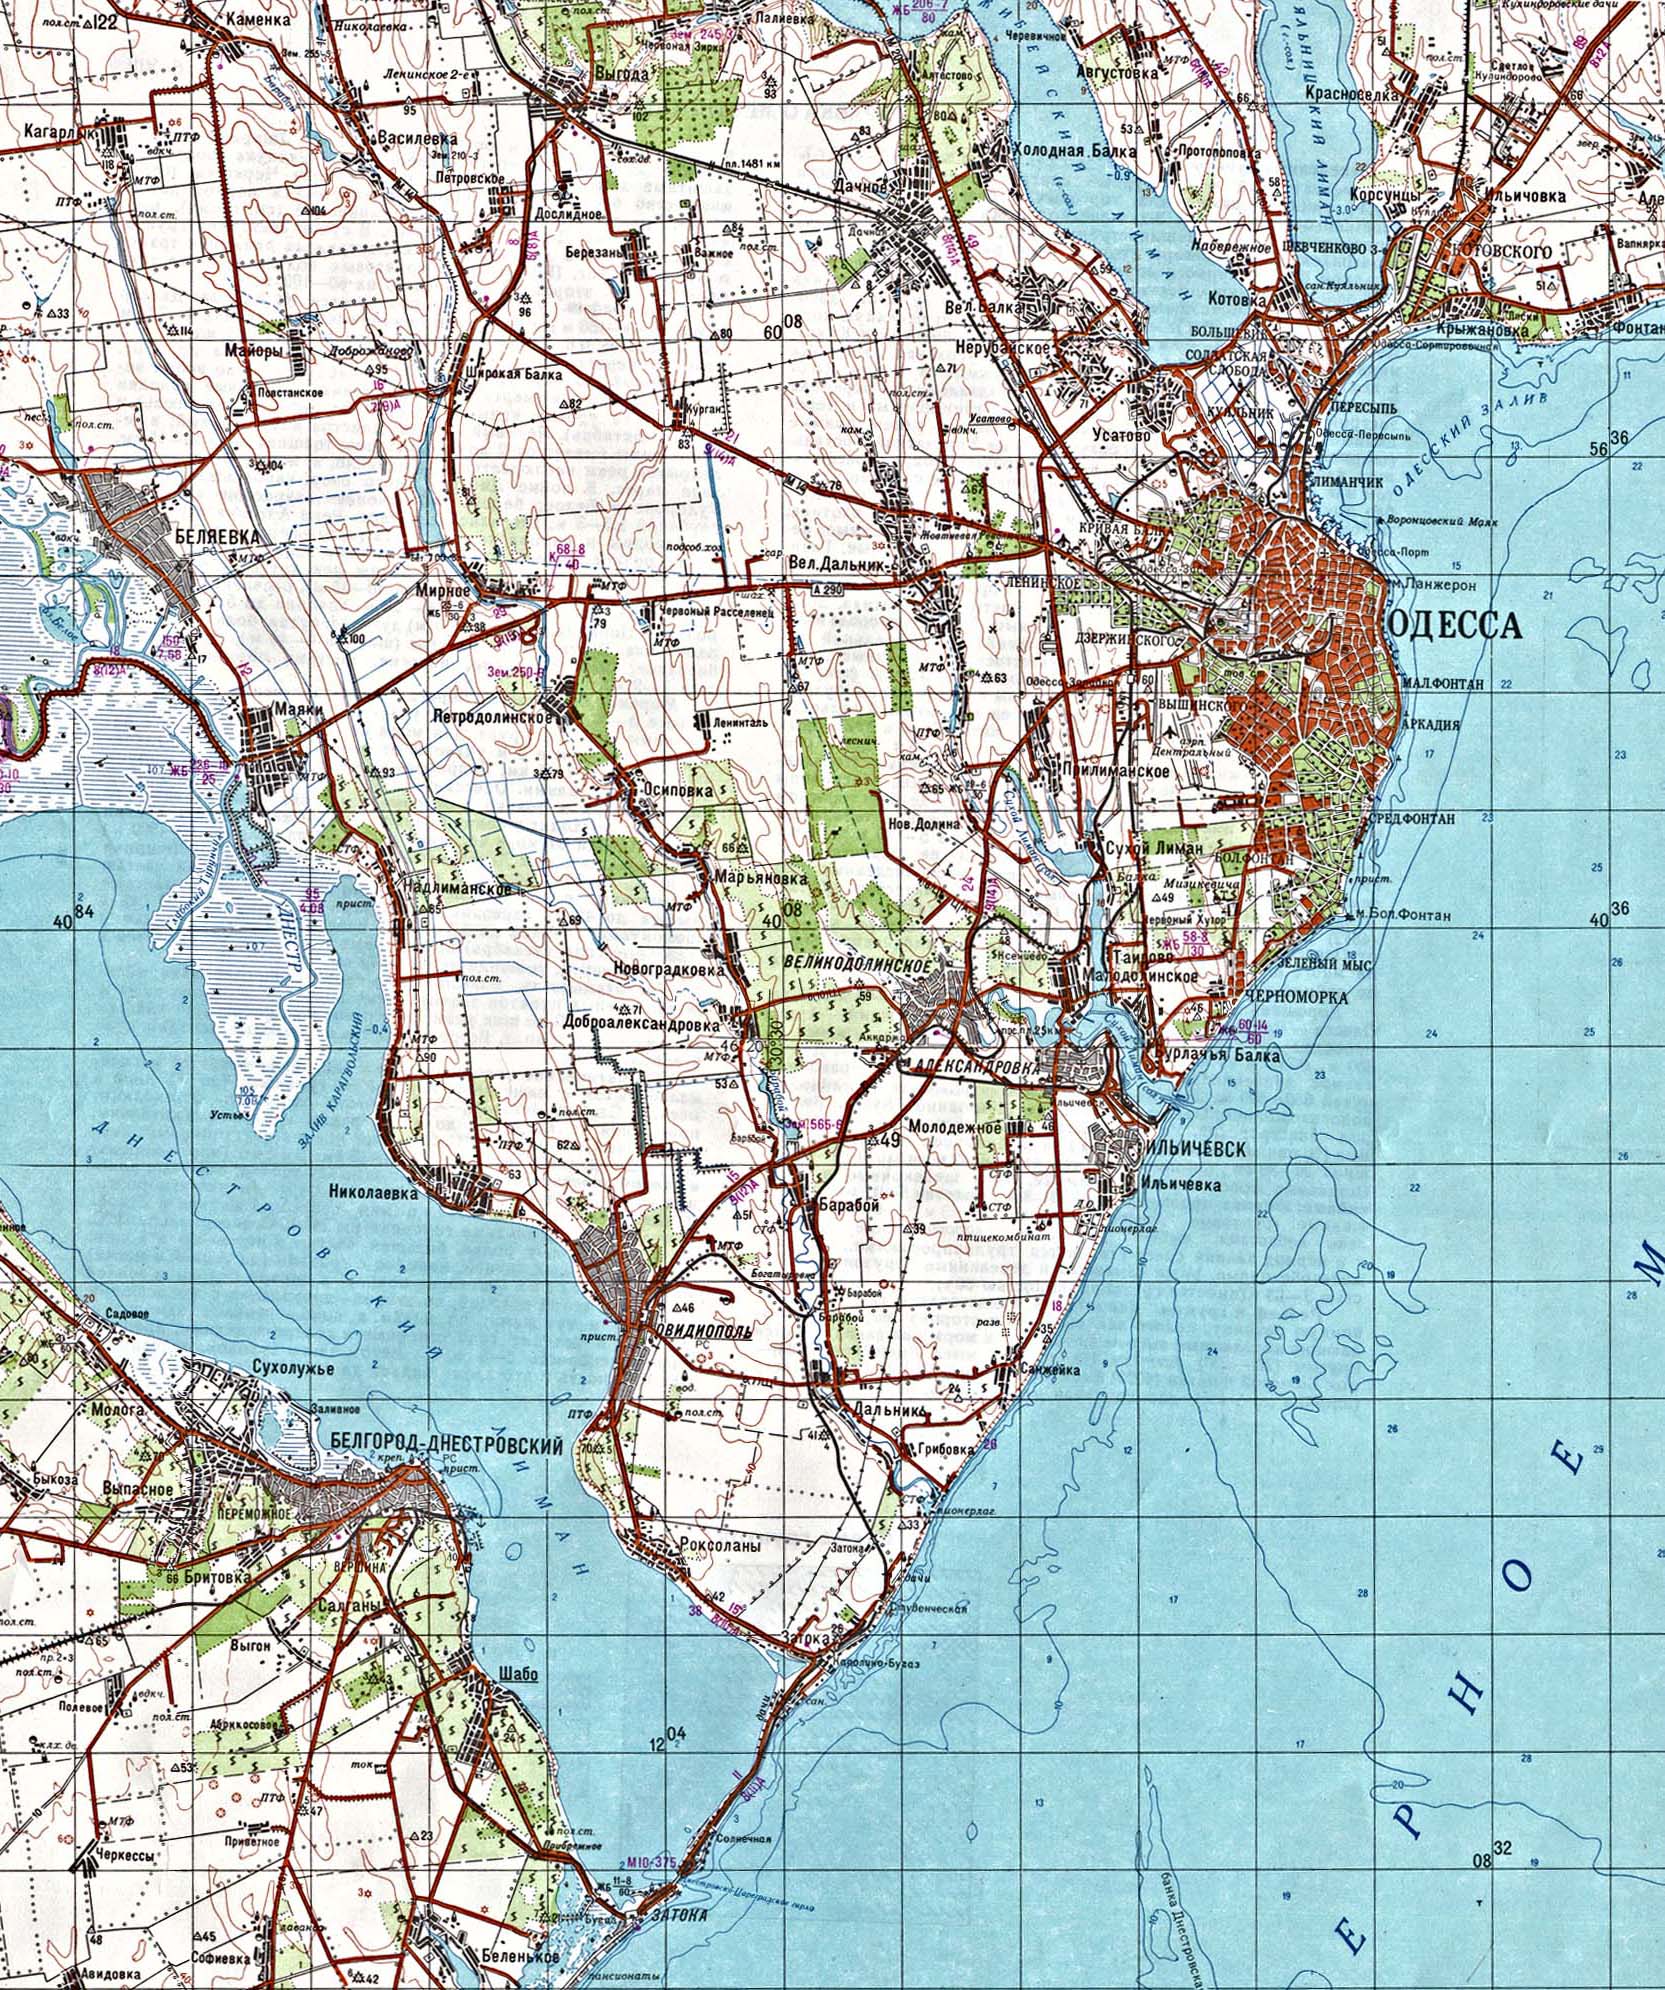
1:200000 map of Odessa: http://www.lib.utexas.edu/maps/commonwealth/odessa_map84.jpg
Divizia 1 Grăniceri: http://www.geocities.com/dangrecu/D1Gr.html
Romanian Account of the Battle:
http://www.worldwar2.ro/operatii/?article=7 &
http://www.worldwar2.ro/forum/index.php?showtopic=1322&hl=
Soviet Account of the Battle:
http://militera.lib.ru/memo/russian/krylov1/08.html &
http://www.weltkrieg.ru/battles/Odessa-III/
It should be noted that many details of the battle are missing from these accounts so there has been a certain amount of "reading between the lines"