Encounter at Radekhov
23/6/41
v1.1 Adjusted victory conditions in light of play test
On the 22nd June the German army invaded the Soviet Union. Initial Soviet response was slow but by the second day of the invasion they were throwing their mechanised forces into violent, but often misguided, counter attacks. A Soviet Mechanised Corps looked fantastic on paper, but many of the tanks were old. The crews hadn't been adequately trained on the new models such as the KV and T-34. Many of the officers were inexperienced and frankly not up to the job. Although there were as many tanks in the Soviet Union as the rest of the world put together ancillary vehicles such as truck and artillery tractors were often missing. In short many of these counter attacks was heading for disaster
One such unit was the 15th Mechanised Corps which was destined to meet the 11th Panzer Division outside the Ukrainian town of Radekhov on the second day of the war. Earlier in the day their had been a brief skirmish between the panzers on the 11 PD's northern flank and the advanced guard of the 10th Tank Division of the 15th Mechanised Corps but neither side was vigorously engaged. The Germans followed the road to Radekhov south east. The town was defended by elements of another Mechanised Corps, the 4th, widely separated from the rest of its unit. The 11 Panzer Division could not ignore the the 4th but the main body of the 10th Tank Division was poised to strike while the Germans oust Group Lysenko of the 4th from Radekhov.
Unfortunately for the Soviets the 19th Tank Regiment of the 10th has bogged down and is not available for the attack. What's worse the Soviets have been spotted by German recce planes and the Germans know the 10th is on its way.
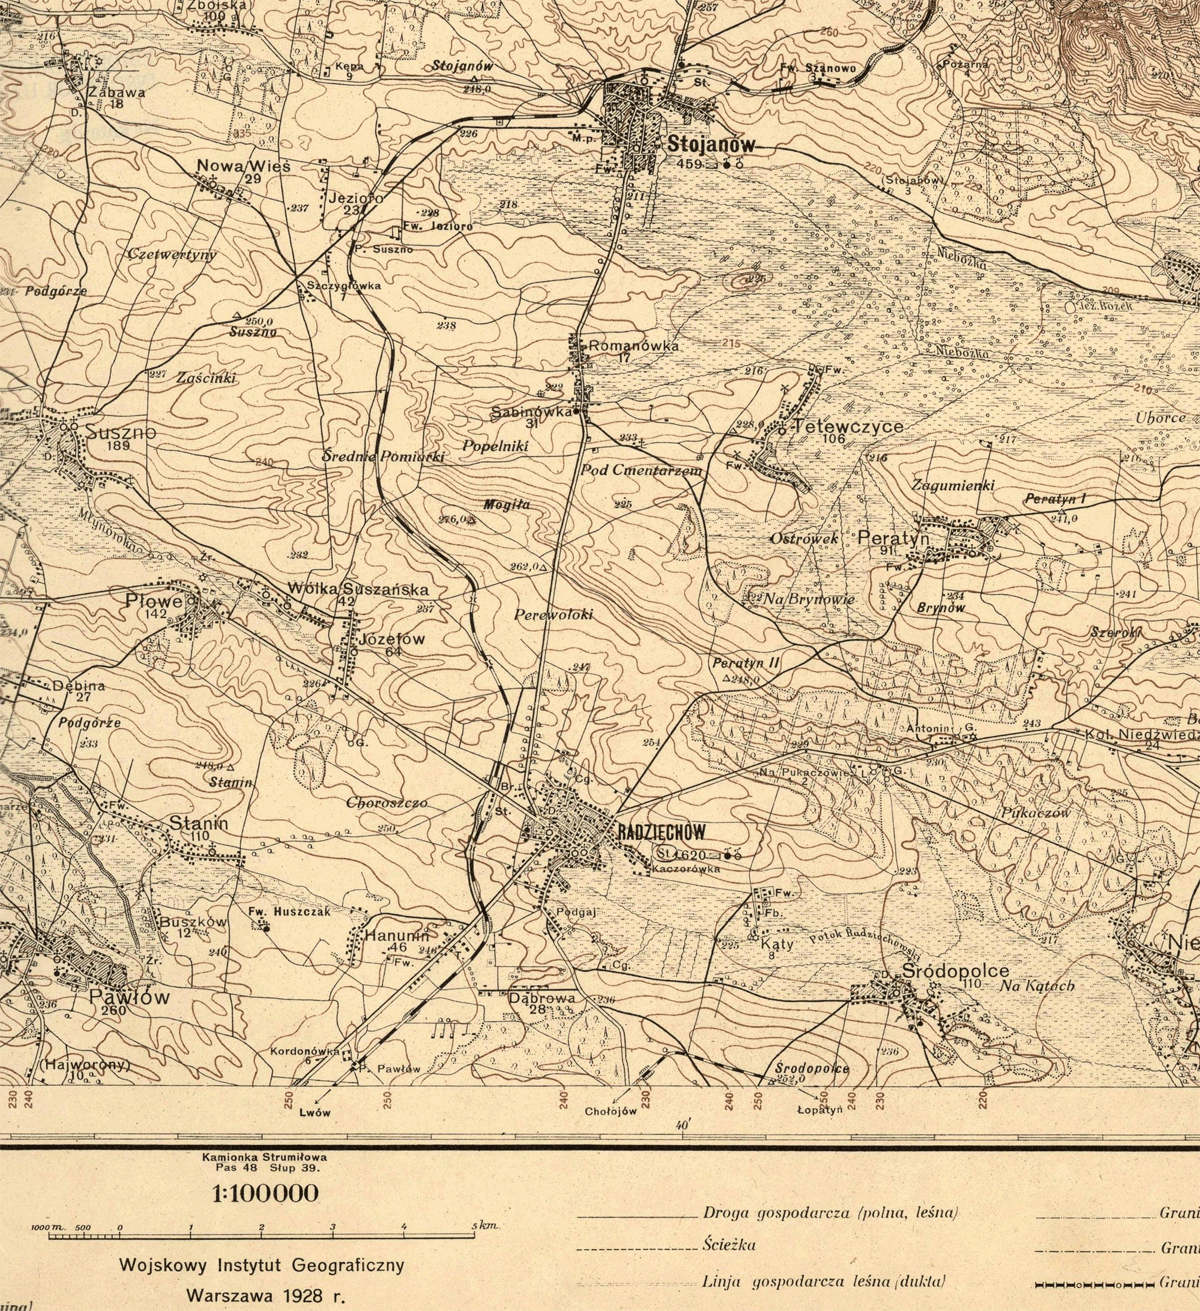
"Radziechow" (Polish Spelling) is Radikhov - 1928 map from: http://igrek.amzp.pl/mapindex.php?cat=WIG100
Map and Order of Battle
Soviet Deployment
Group Lysenko starts on table and is deployed anywhere in the deployment zone delineated by the pink dashed line
The Forward Detachment 10th Tank Division (commanded by the Staff 10th Tank Division and consisting of the 3rd Tank Battalion and 1st Motor Rifle Battalion) is a reinforcement turn 4. It can enter the table anywhere from point D to E
DHQ 10th Tank Division is a reinforcement. It will arrive on turn 5 or turn 7 players choice. If it arrives on turn 5 it is on top of Hill 252 off table (see special rules). If it arrives turn7 it enters the table between points G & I
The Regimental Gun Battery 10th Mechanised Regiment is a reinforcement turn 6. It is deployed off table on Hill 252 (see special rules)
1st Tank Battalion 20th Tank Regiment is a reinforcement. It enters turn 7 between points G & I.
HQ, HQ Company and 2nd Battalion 20th tank Regiment are reinforcements. They enter turn 8 between points G & I. However they may not enter until all the tanks of the 1st battalion are beyond ridge WZ
2nd & 3rd Motor Rifle Regiments are reinforcements arriving turns 9 and 10 respectively. The regimental HQ elements arrive one turn later on turn 11. They arrive between points G & I. Players may chose not to bother deploying these forces, as they arrive so late they are unlikely to make much difference to the outcome of the game (Historically the Germans didn't seem to take much notice of the Soviet Infantry in this battle, which hints that it wasn't a major threat)
Note point I is equidistant between the table corner and road H
No reinforcement can arrive within12" and LOS of an un-demoralised enemy stand. If entry is impossible, the reinforcements can enter a turn later up to 12" from their indicated entry location. If entry is still impossible move 12" further away every turn until entry is possible.
German Deployment
I Abteilung 15 Panzer Regiment starts on table, in the indicated deployment zone. Note this doesn't touch ridge LD
Stab, Stabs Kompanie & II Abteilung 15 Panzer Regiment are reinforcements. They enter turn 3 between points B & L.
1 Kompanie 209 Pioneer Bataillon is a reinforcement. It enters turn 4 between points C & L.
1 Kompanie 61 Panzerjäger Abteilung is a reinforcement. It enters turn 4 between points C & L.
6 Btr II/26 Flak Regiment is a reinforcement. It enters turn 5 between points C & L.
III Abt 119 Artillerie Regt is a reinforcement. It enters turn 5 between points C & L.
No reinforcement can arrive within12" and LOS of an un-demoralised enemy stand. If entry is impossible, the reinforcements can enter a turn later up to 12" from their indicated entry location. If entry is still impossible move 12" further away every turn until entry is possible.
Reinforcement Synopsis
| Turn | Unit | Entry |
| 3 | Stab, Stabs Kompanie & II Abteilung 15 Panzer Regiment | BL |
| 4 | 1 Kompanie 209 Pioneer Bataillon & 1 Kompanie 61 Panzerjäger Abteilung | CL |
| 4 | Forward Detachment 10th Tank Division | DE |
| 5 | 6 Btr II/26 Flak Regiment & III Abt 119 Artillerie Regt | CL |
| 5 (choice) | DHQ 10th Tank Division | Hill 252 |
| 6 | Regimental Gun Battery 10th Mechanised Regiment | Hill 252 |
| 7 (choice) | DHQ 10th Tank Division | GI |
| 7 | 1st Tank Battalion 20th Tank Regiment | GI |
| 8 | HQ, HQ Company & 2nd Battalion 20th tank Regiment | GI |
Terrain
The map is 5ft x 8ft if playing at 1" = 50m.
The grey areas are BUA's. These are widely spaced wooden structures with gardens between. They give +2 cover for personnel and +1 cover for vehicles and towed guns. There are no firing restrictions
The small grey squares are 2"x2". The small BUA's can only take a single personnel stand. They may not take towed guns. +2 cover
The tan lines are crest lines. Crest lines break LOS and give hull down positions to AFV's touching them (-2 cover). The thick lines around point 250 are higher than the surrounding terrain. Any stand touching the line can see over all cover that usually breaks LOS unless the terrain feature is within 3" of the line. They can also fire over friendly stands that are not within 3" of the thick lines. There is a "dead zone" of 3" behind all terrain that blocks LOS, as measured from the high crest.
The red lines are good roads..
The grey broken lines along some of the roads are walls. They give +2 cover to personnel stands, and +1 to towed gun and vehicle stands, only if the stand is adjacent to the wall . The walls break LOS, though stands adjacent to the wall can see and be seen. All stands on the road are considered adjacent to the wall. (in reality the walls are actually a line of houses along the road, but there are not enough to warrant a BUA. The walls are an attempt to simulate this).
The blue lines are streams. They have flat marshy banks and are impassable to vehicles. Infantry take a BMA to cross. They don't provide cover.
The light blue areas are marshy meadows. Personnel stands are unimpeded. Tracked vehicles are at half speed. The terrain is impassable to wheeled vehicles and manhandled guns
The green area is open woods
The green dotted lines are tree lines, they break LOS and give +1 cover. Any stand on a tree lined road is assumed to be adjacent to the tree lines on both sides of the road
The black dashed line is a railway. It has no game effect
Air Support
Roll 1d10 each turn for German air support. On a 6-10 they get a Hs-126 recce plane. On a 10 they also get a Stuka.
The Hs-126 recce plane has a limited game effect. H&I fire from the German 150mm's gets a +2 bonus on targets within 12" of the plane (ie it comes down on a 1-5). The Hs-126 is considered above (and thus immune to) all Soviet AA fire.
Special Rules
Game length is 12 Turns
Hill 252 is a dominant feature to the south east of the table. It's in Soviet hands and is high enough to see over the entire battlefield south of ridge LD. Any stand on the hill can see over all cover that usually breaks LOS. There is a "dead zone" of 3" behind all terrain that blocks LOS. The hill top is considered 40" off table but is high enough to have visibility all the way to ridge LD. When measuring LOS and spotting measure from the south eastern corner of the board.
Only the 10th DHQ and the regimental 76mm can deploy on the hill. This means the 76mm is considered firing over open sights at all times
Neither side can move tanks off the table voluntarily, though they may leave due to fire or morale failure
Victory Conditions
In order for the Soviets to win they must EITHER: destroy at least 4 German panzers, and have a better than 1:5 exchange ratio. This means that for each German tank killed the Soviets must have lost less than five of their tanks. OR Have at least one tank in good morale north of ridgeline LD and have a better than 1:5 exchange ratio.
In order for the Germans to win they must stop the Soviets getting their victory conditions AND prevent any Soviet tanks in good morale getting north of ridge LD AND have at least one Panzer in good morale within 12" of points X & Y. One panzer can not count for both points
Example of 1:5 exchange ratio: if the Germans have lost four panzers, if the Soviets have lost 19 tanks they win, if they've lost 20 or more they don't win
Good morale means not shaken and not demoralised
References
4th Mechanised Corps - http://mechcorps.rkka.ru/files/mechcorps/pages/4_meh.htm
15th Mech Corps - http://mechcorps.rkka.ru/files/mechcorps/pages/15_meh.htm
26th FlaK Regiment - http://www.ww2.dk/ground/flak/flargt26.html
Bloody Triangle, The, Victor J. Kamenir
BRIEF DESCRIPTION OF MILITARY ACTION 15 Mechanized Corps in the period from 22.6.41 till 12.7.41 - http://mechcorps.rkka.ru/files/mechcorps/pages/otchet_15mk.htm
German organisation Series Vol 3/I, Leo Neihorster
Initial Period of the War on the Eastern Front, The, David Glantz
REPORT About combat activity of the 10th Armoured Division at the front against fascism from 22.6 to 1.8.41 - http://mechcorps.rkka.ru/files/mechcorps/pages/otchet_10td.htm