Sunday of the Dead
Second day of the Sidi Rezegh battles 23rd November 1941
The 23rd of November is know to the Germans as Totensontag, Sunday of the Dead or perhaps "Death Sunday" in English.
On the 18th November the British forces in the desert launched Operation Crusader with the objectives of smashing the Afrika Korps tank strength and relieving the besieged fortress of Trobruk. The plan was for the bloated 7th Armoured Division to draw the German panzers in to a climactic tank battle and utterly destroy them. The chances looked good as the British had more tanks than the Germans. Unfortunately the Germans were not playing and the British divided their forces into brigade or battalion "penny packets" to be individually defeated by the Germans.
By the 23rd the British tank forces were in disarray, the 7th Armoured Brigade had a few as 15 tanks running. The 22nd Armoured brigade was down to a composite regiment and the battalions of the 4th Armoured Brigade were scattered over the desert after the brigade HQ was over-run. However the British infantry was still intact and the British high command was still optimistic of a positive outcome.
On the 22nd of November the 5th South African Brigade had managed to get to a position a few miles south of point 178 overlooking Sidi Rezegh airfield; scene of a titanic battle between elements of the 7th Armoured Division and the German Panzers the previous day. They were preparing for an attack the next day.
The Germans attacked first. the 15 Panzer Division with the tanks of the 21 Panzer Division swept down from the north east, through the gap between the 2nd Regiment Botha and the 7th Support Group crashing in to the "B" echelon (i.e. the truck park) of the 5th South African Brigade and the 7th Support Group. Much of transport was left burning in the desert the rest was scattered to the four winds.
The panzers then met up with the Ariete division, all the Axis armour was concentrated in one location, something the British had singly failed to do in the entire battle. The combined might of the Axis forces turned around, ignoring the desultory shelling of the 1st South African Brigade to the south, and headed back north for Sidi Rezegh airfield, the 5th South African Brigade was squarely in their path.
In the meantime the 6th New Zealand Brigade was attacking the Germans to the east, to be in a position to support the planned attack by the South Africans
The scenario depicts the the Axis assault on the 5th South African Brigade and the advance of the 6th New Zealand Brigade
Map and Order of Battle
Allied Deployment
The Allies deploy first and move first
The 5th South African Brigade is deployed around a point 12" to the south of point 178. I suggest that point is marked with a counter or similar on the table top. All South African units, with the exception of the armoured cars, must be deployed within 9" of the marked point. The formation should be as shown on the scenario map: 3rd Transvaal Scottish facing north, 2nd Botha facing east, 3rd AT Battery facing south and 3rd South African Irish facing west. The Scots guards and the 3/1 Light AA Battery should be inside the square. All South African infantry units are in sangars (1 left shift cover). The Scots Guards are not in sangars
The Composite Regiment 22nd Armoured Brigade is deployed touching the table edge within 18" of corner A
The 3rd SA Armoured Car Regiment is deployed within 12" of the 3rd South African Irish.
The 4th SA Armoured Car Regiment is deployed within 18" of, and to the east of, the 3rd Transvaal Scottish.
The 3rd and 4th RHA are deployed exactly 9" away from the 2nd Botha
The 24th NZ Battalion enters the table turn 1 18" south of corner B
The 26th NZ Battalion enters the table turn 1 between 24" and 36"" south of corner B
The 25th NZ Battalion enters the table turn 3 18" south of corner B
The NZ Brigade HQ and logistics enters with any NZ battalion
The elements of 3rd RTR enter the table turn 4 on the south edge up to 48" from point C
The elements of 7th Armoured Brigade enter turn 5 on the south edge up to 24" from point C
The 5th RTR enters the table turn 6 within 6" of point C
Axis Deployment
The axis deploy second and move second
I & II 155 Afrika Regiment are deployed up to 6" north of the escarpment ending at point X. They may not start touching the escarpment. They are in sangars.
The I/361 Afrika Regiment is deployed up to 6" from escarpment BY. It is in sangars.
II/361 Afrika Regiment is a reinforcement. It enters within 6" of point Y the turn after there is an allied unit touching point 175 and there is no Axis unit within 6" of point 175
KG Knabe is a reinforcement entering anywhere between points X and Y. It enters turn 5.
8 Panzer Regiment enters on the south edge of the table within 18" or point D. It enters turn 3
115 Schützen Regiment enters on the south edge of the table within 18" or point D. It enters turn 5
5 Panzer Regiment enters on the south edge of the table between 24 and 36" of point D It enters turn 4
200 Schützen Regiment enters on the south edge of the table between 24 and 36" of point D It enters turn 6
132 Reggimento Carri and the Comandante enters the west table edge on turn 4 between 18" and 24" of point D on turn 4
V Battaglione 8° Bersaglieri, Logistics and Artiglieria Autocannone enters the west table edge on turn 4 between 18" and 24" of point D on turn 5
I/132º Reggimento Artiglieria starts off table and may start firing on turn 4. It may enter the table any turn 5 onwards if it does not attempt to fire in the previous turn. It enters between between 18" and 24" of point D.
Terrain
The table is 8ft x 4ft if playing 6" = 1km
For the most part the terrain is open desert, a little rocky, dotted with tufts of greenery
The dark brown lines are escarpments. They count as level two elevations when looking north only. They count as obstacles. Units moving along the escarpment count the terrain as difficult.
The sand coloured dashed lines are wadis that count as obstacles to movement
The brown triangles are heights and have no game effect.
|
Terrain |
Movement |
Cover |
ZOC |
Fire Power |
||||||
|
Leg/non-motorised |
Wheels/ motorised |
Tracked/ mechanised |
Inf & Cav |
Towed Guns |
Vehicle |
Inf & Cav |
Towed Guns & Vehicles |
IDF |
||
|
Fortifications: Sanagrs |
* |
* |
* |
1L |
1L |
- |
* |
* |
* |
* |
|
Open |
- |
- |
- |
- |
- |
- |
Clear |
- |
- |
- |
|
Terrain |
Movement |
Cover |
ZOC |
Firepower |
||
|
Leg/non-motorised |
Wheels/ motorised |
Tracked/ mechanised |
||||
|
Escarpment |
Obstacle |
Obstacle |
Obstacle |
- |
Cluttered |
- |
|
Wadi |
Pure |
Impassable |
Obstacle |
- |
- |
- |
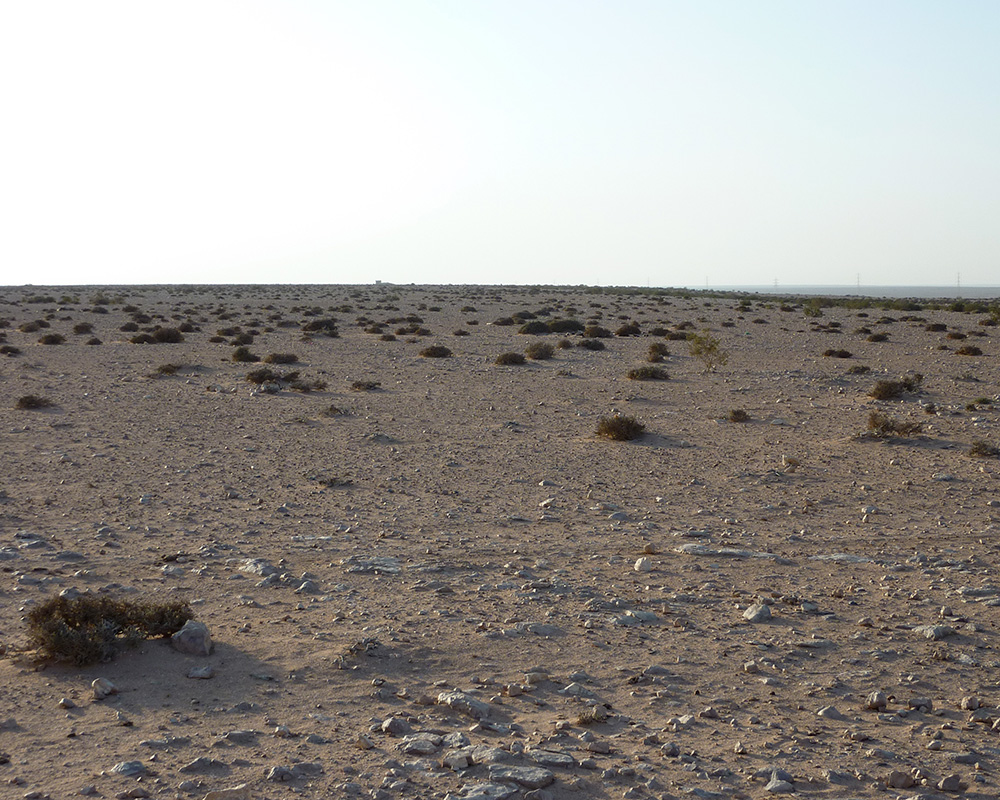
The approach to point 175, from https://www.sidirezegh.co.nz/Operation-Crusader-Diary-of-9-Platoon/#section2
Special Rules
The game is 10 turns long
All units that start on table may not move until an enemy unit approaches within 12" of them. The partial exceptions are: the 155 Afrika Regiment which may move once KG Knabe is within 12" of the enemy and 22 Armoured Brigade which may move turn 4 onwards
Any motorised or mechanised unit that starts its move over 12" from the enemy and does not get within 12" of the enemy may move double the distance indicated on the dice.
The 3rd SA Battery is situated amongst the wrecks of the brigade's B echelon trucks. Two of the trucks on the unit's base represent B echelon trucks. They are removed as casualties first. They do not count as strength points if the AT battery is involved in close combat. They are removed from the base if the battery moves.
Victory Conditions
Points 175 and 178, plus Garnet en-Nbeidat are victory locations. To win the Axis forces must hold all of them. If they hold two its a draw. If they only hold one (or none) its an allied win.
To hold a location there must not be any Allied large base units within 6" of the point.
References
6th NZ Brigade Artillery: http://nzetc.victoria.ac.nz/tm/scholarly/tei-WH2Arti-c6-5.html
2nd Battalion Scots Guards War Diary: http://ww2talk.com/index.php?threads/war-diary-2nd-battalion-scots-guards-jan-dec-1941.57752/
4th RHA War Diary: http://ww2talk.com/index.php?threads/war-diary-4-rha-1941-transcript.40032/
605 Panzerjäger Abteilung: https://forum.axishistory.com/viewtopic.php?f=50&t=157783&sid=8db246f04ded4c03717aeb51db4a9971
Afrika Division zBV: https://rommelsriposte.com/2009/08/15/order-of-battle-division-z-b-v-afrika-africa-special-purpose-division-10-november-41/
Ariete's Actions on Totensontag - Italian Report: https://rommelsriposte.com/2015/10/30/arietes-actions-on-totensonntag-italian-report/
Arietes Contribution to Sidi Rezegh di Nisio Column: https://rommelsriposte.com/2013/08/10/arietes-contribution-to-sidi-rezegh-di-nisio-column/
British Armies in WW2 and organisational History Vol 1 (Tank Divisions) and Vol 7 (NZ & SA Army), David Hughes et al.
The Crucible of War 2: Auchinleck's Command, Barrie Pitt
German WW2 Organisational Series Vol 3/I, Leo Neihorster
Iron Hearts Iron Hulls, Ian Walker
Kampfgruppe Knabe: http://dak.webseiten.cc/einheiten/kampfgruppen/kampfgruppe-knabe/
L Anti Tank Troop with 26th NZ Battalion: http://nzetc.victoria.ac.nz/tm/scholarly/tei-WH2Arti-c6-6.htm l
Panzer Truppen Vol 1, Tom Jentz
Point 175: http://nzetc.victoria.ac.nz/tm/scholarly/tei-WH2-2Epi-t1-g1-t11-body.html
Sidi Rezegh: http://www.desertrats.org.uk/battles1941.htm#SidiRezegh
The Sidi Rezegh Battles 1941 JAI Agar-Hamilton & LCF Turner. There is an online version here: http://www.rsi.co.za/WWII/SidiRezegh/historic.htm
Totensontag - The Sunday of the Dead: http://sairish.webs.com/Sidi%20Rezegh%20-%20The%20Sunday%20of%20the%20Dead.pdf